
Phase 2 : Guided driving
Your learner begins phase 2 of the RSEP program

As your learner begins phase 2 of the RSEP program, he will complete two theoretical modules on the following topics:
- Accompanied driving;
- OEA strategy (Observe, Evaluate, Act).
The learner will also have 4 practice sessions with the driving school. This phase is completed over a minimum of 28 days.
This is also when you will begin your role as an accompanying rider and start your driving practices with your learner.
The practice sessions in phase 2 are guided driving sessions. The learner is not yet at a point where he can anticipate dangerous situations or perform various maneuvers without instructions.
Exercises for your first road practices
- Make sure your learner has is learner’s licence with him (mandatory for practice sessions).
- Get behind the wheel and drive the vehicle to a quiet parking area.
- Provide the learner with concise and clear explanations.
- Allow the learner to get a “feel” for being behind the wheel.
- Stay alert and keep an eye out on everything in the environment.
-
Start with simple exercises
- Moving the vehicle forward without pressing on the gas pedal.
- Slowing down in a straight line.
- Decreasing the vehicle’s speed and braking.
- Backing up.
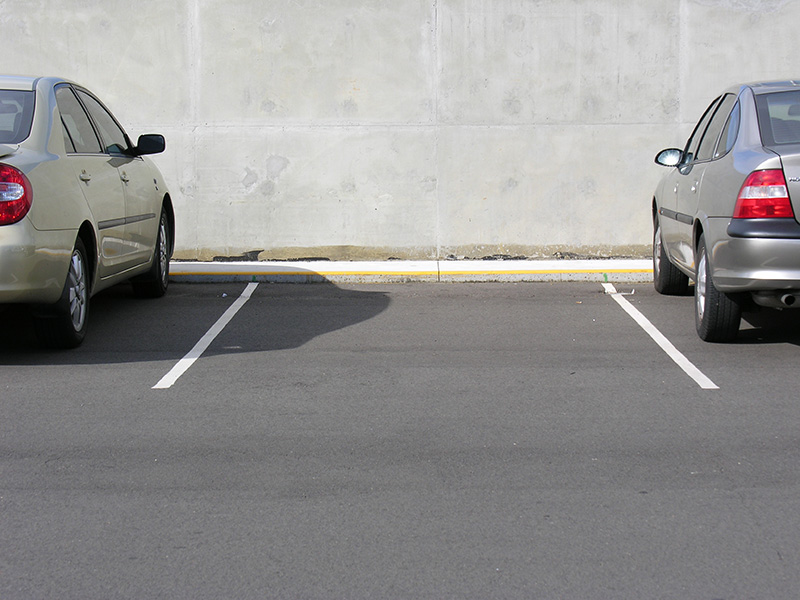
- Practicing how to drive into a parking spot (in between the lines).
- Becoming aware of depth perception.
- Begin with short 20-minute sessions.
Ask the learner to bring the vehicle close to a street light. Have him evaluate the distance between the front of the vehicle and the light, then tell him to go outside and measure the actual distance.
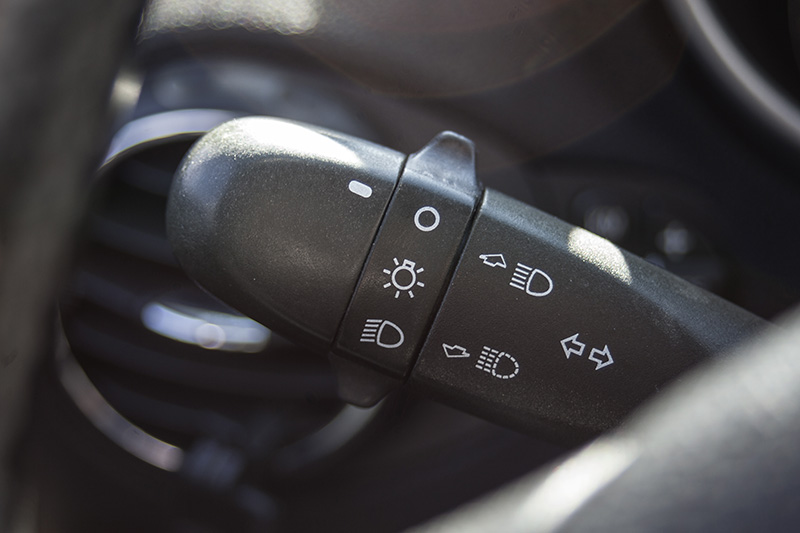
Learn how to tell if the learner is tired or stressed. Signs include: yawning, asking you to repeat instructions, using the wrong turn signals, squirming or shifting position in his seat, etc.
Practice exercises for your upcoming in-car sessions.
For the next sessions or once you feel your learner has mastered the maneuvers you’ve had him practice, ask the learner to drive to a quiet residential area (with little traffic and a speed limit of 50 km/h). This will be an excellent opportunity to practice basic maneuvers such as:
- turning (curves).
- stopping (intersections), determining right-of-way.
- parking (driving forward or backing into a spot).
- changing lanes.
- Make sure the learner moves his head to Observe and Evaluate, which will then allow him to Act on the basis of what is happening around him (in his environment).
In addition to the phase 2 in-car sessions with a driving instructor (before beginning phase 3), a total of around 15 hours of additional practice is recommended.
Driving Safety Tips
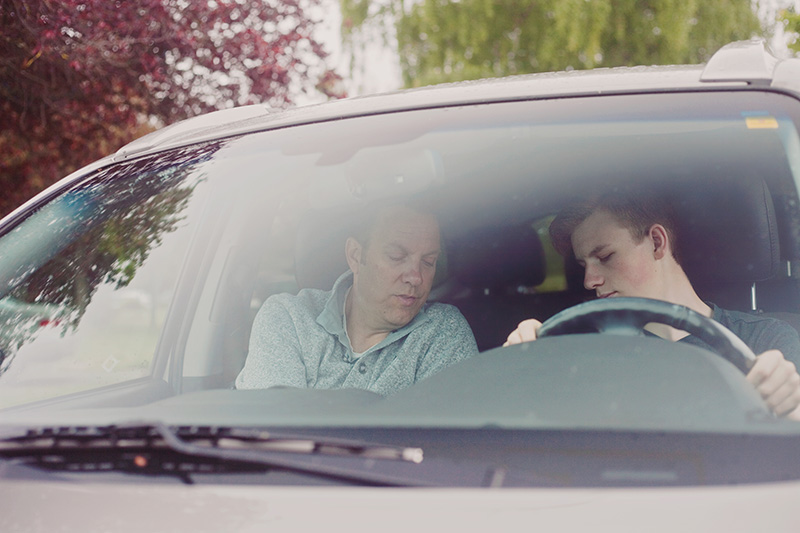
As an accompanying rider, how can you control the vehicle?
Learning how to drive is not easy, and it’s normal for an accompanying rider to not feel fully at ease in the passenger seat. In fact, you most likely think you have no control over the vehicle when you find yourself in the passenger seat. You may be surprised to learn that this isn’t the case!
The driver’s state of mind
First, you need to remember what it was like to be young; words such as introverted, shy, touchy and overconfident will probably come to mind. This exercise will help you better understand your learner’s state of mind and by extension, allow you to take stock of things before jumping to conclusions or thinking the worse.
Set clear and succinct guidelines before heading out for a ride
Make sure the learner understands that he must immediately react and listen to all of your instructions even when he is not aware of or does not understand a given hazard. Clearly indicate that complying with this rule is what will allow you to take control of the vehicle in a high-risk situation and thereby ensure his and your safety. Remember that a learner may have a more fixed (hence, narrower) field of vision than an experienced driver. Because of this, he may not be aware of something that you will have easily noticed well ahead of time.
Method to put into practice
One way of helping your learner develop a wider field of vision is to occasionally ask him to tell you what he sees in front, behind and on both sides of the vehicle.
Make sure the learner listens to you!
Exercise (a test!): First, make sure you’re in a safe place and that there are no vehicles behind you. Then, ask the learner to brake (despite the fact that nothing would lead him to believe that braking is necessary). What you want is for him to brake despite not understanding why you asked him to do so. This exercise (remember, in a safe place!) will get the learner used to complying with your orders.
Control the vehicle by sight
Most driving errors are due to a visual hitch. You can essentially take control of the vehicle by having the learner shift his vision. Example: If the vehicle is drifting towards the sidewalk, a garbage bin or the other side of the road, ask him to look further ahead and focus on a reference point where the vehicle is headed. The results will astound you!
When should you grab the wheel?
It’s perfectly normal to grab the wheel to avoid an accident when something unexpected occurs or if the learner is unsure how to respond to a hazard. However, if you find yourself wanting to do so on a regular basis, this could be a sign of poor communication.
How to communicate
How well a learner and his accompanying rider communicate is the key to everyone’s safety. Whenever you have a request or an observation, you must let your learner know ahead of time. Giving him a 3-second heads up will allow him to think about his next maneuver and avoid sudden maneuvers that he might do before checking if it was safe to do it
Example of effective communication
Ask the learner ahead of time about what he should be on the lookout for.
- Before stopping at an intersection, ask him whether it’s a four-way stop.
- When driving on a straight road, ask him to tell you when he sees a speed limit sign.
- When driving on a straight road, ask him to tell you as soon as he sees vehicles ahead, behind or on either side of him.
Once he understands what he should be on the lookout for, he will be able to better control his driving and you will be able to help him focus when and where necessary.
ATTENTION
Before the maneuver, tell the learner the location towards which he will need to drive.
For example: “At the second street, turn right.” Note that if you reverse or switch up the sentence so that it becomes “Turn right at the second street,” he will think he needs to turn right at the first street he sees. This could also result in an unsafe driving situation where the learner fails to put on his turn signal, look in his mirrors or check his blind spot before proceeding with the requested turn.
Use of the neutral position by the accompanying rider
If you fear that the learner may move forward quickly and can’t reach the mechanical brake, put the transmission in Neutral.
If the vehicle has an automatic transmission, push the shifter forward with your hand (without pressing on the push-button, as this would put the transmission in Reverse or Park).
If the vehicle has a manual transmission and is in first gear, you only need to give the shifter a push downwards. Neutral is between the third and fourth gears.
Foot position while parking
When parking, make sure the learner keeps his foot atop the brake pedal (as though covering it); this is an easy way to ensure that he will not inadvertently press on the accelerator.
You’re a model for your learner!
As a model for your learner, it’s especially important that you follow the Highway Safety Code! Never encourage your learner to make rolling stops or to exceed the speed limit, as this could be his first step in acquiring bad driving habits.
Drive safe!
A few reminders
Backing up
When backing up, it’s important to turn around ¾ of the way. Relying solely on your rear view and other mirrors is not sufficient.
Buckling up and backing up
The law allows a driver to unbuckle his seatbelt while backing up.
Before braking, a driver must…
Before braking, a driver must always look in his rear view mirror to avoid being rear-ended.
Mirrors and blind spots
Whenever a driver changes lanes, he must use his mirrors and check his blind spots. Tip: Always check your blind spot when you put on your turn signal. If you always think of these two actions as “never one without the other”, you’ll be all set!
Holding on to the steering wheel
When driving, one’s hands must be positioned in a very specific manner, not too high, nor too low on the steering wheel (pretend the wheel is a clock and place your hands at 9:45 and 10:15 OR 9:50 and 10:10). Your elbows must be angled down and your thumbs outside of the curve of the steering wheel (never inside of it).
Crossing your hands over the steering wheel
Making a turn (90 degree angle or more) is easier if the driver crosses one hand over the other on the wheel.
Where a driver looks and what he sees are critical while at the wheel
Where a driver looks is extremely important, as it determines in which direction the vehicle will go 90% of the time. This being said, it’s not just about steering in the proper manner. Actually seeing what’s ahead is also critical for driving safely.
Also, every driver should get his eyes checked on a regular basis!
P. S.: Whenever possible, keep your hand on the emergency brake (in case you need to react quickly).

